
Stage 1, A Shelf
After receiving my shelf from eBay, my Lumia 920 & FatBoy from AllPhones it was time to get a work on making sure this shelf unit would be suitable for my build or if I had just ordered 3 shelf which needed a home somewhere in the house.
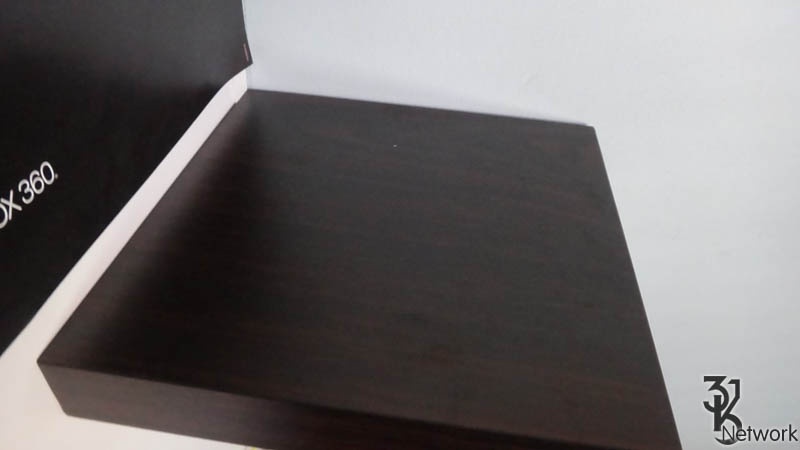
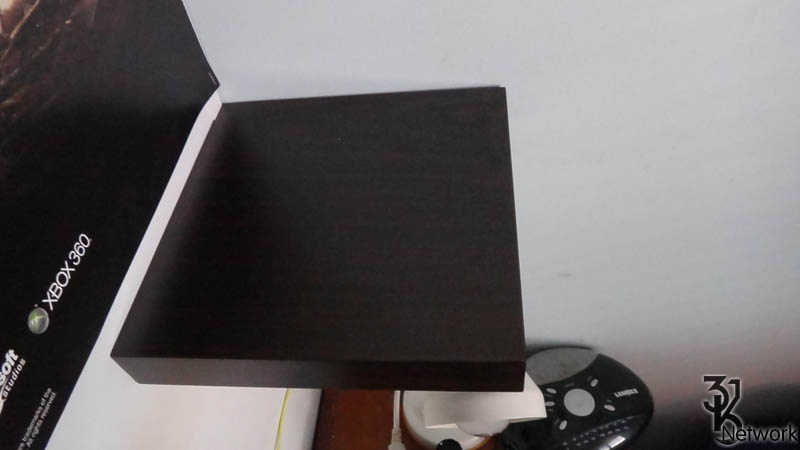
After investigating the shelves I brought it was a relief to see the shelf was not only hollow but also held together very well (Which was both a good and bad thing). A few of the listings are below,
The Good
- Shelf is well build and very structurally supported (No loose parts or transport damage
- Came with all screws and mounting hardware
- Shelf was hollow inside
- Shelves thickness was only 4mm from inside top to outside (thinner material = less interference for wireless charging)
The Bad
- Unable to easily disassemble the shelf meaning cutting the shelf up was the only way to access its interiors
- Shelf has a 2nd wall after the first for support of the mounting rods, means cutting through 2 sections to reach the inside
- Comes with only brick mounting abilities (Using gyprock or other walls like me required additional purchases)
The Ugly
- Colour doesn’t match my room (Can’t argue for the price I got but there was no other colour options)
Stage 2, Gaining Access
Using the charging plate from the FatBoy I received I was able to do basic measurements and requirements needed to allow the charging plate to fit nicely into the shelf while also allowing me to remove it later if required. Due to the double walled section, to provide additional support when mounting. This 2nd wall made this project a bit harder as it required going an additional 10cm into the actual shelf as a similar hole must be removed from that wall as well.

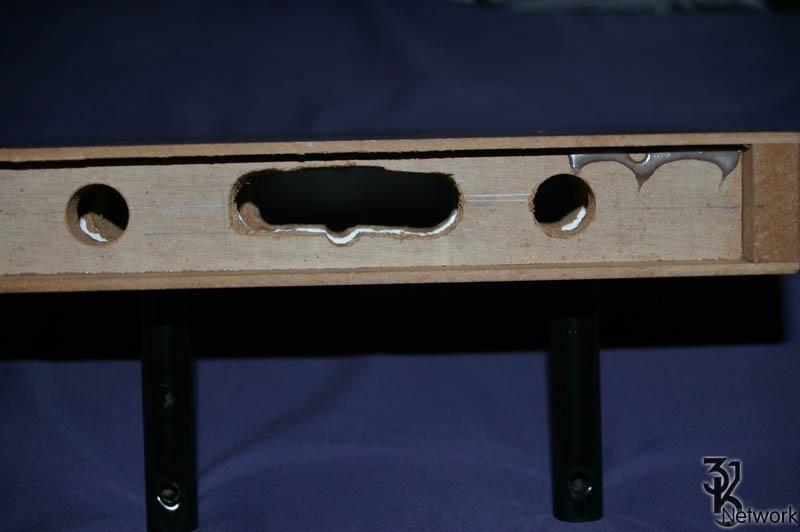
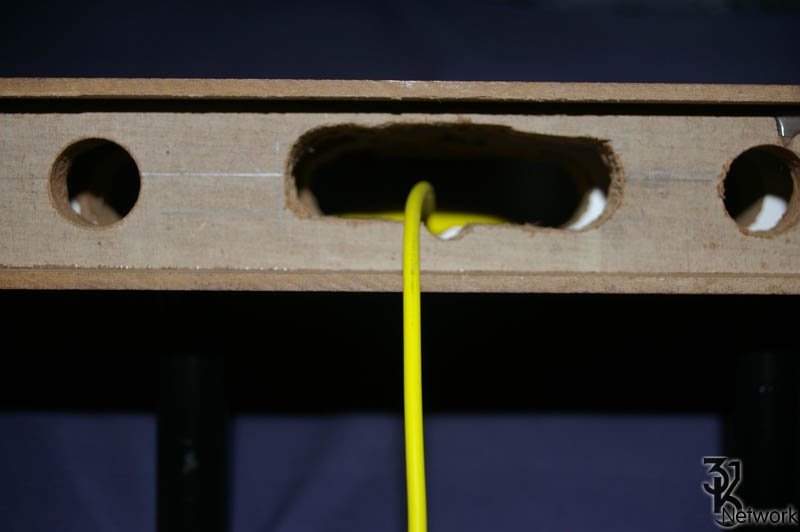
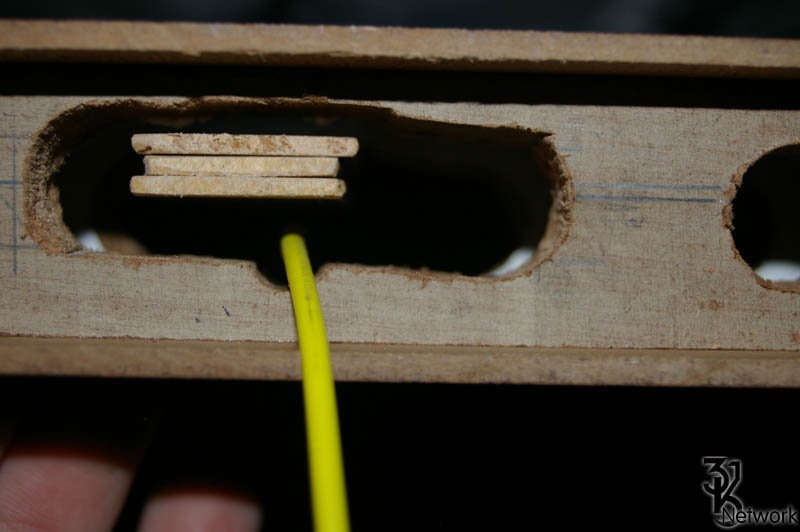
Rough cut-out region for shelf
With my region marked for removal the only way I found to optimally remove this section was with a rather large and long drill piece. Making 3 total drill points I was able to successfully cut through both layers of the shelf while keeping the original mounting holes un-touched.

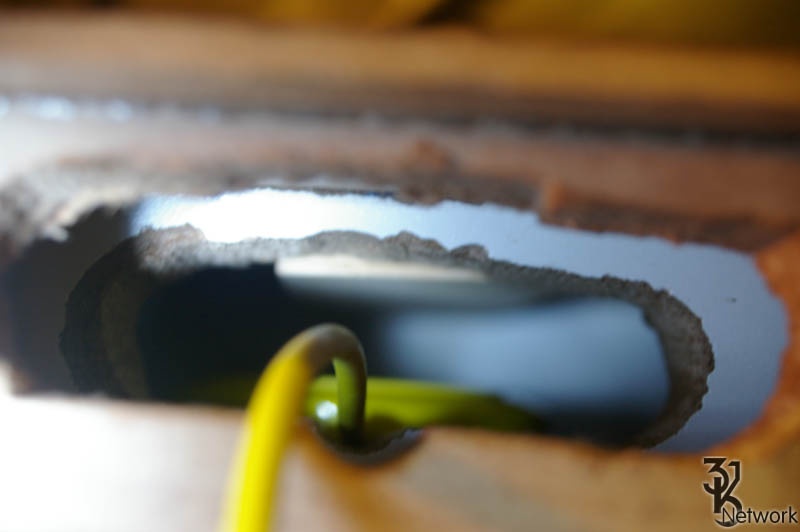
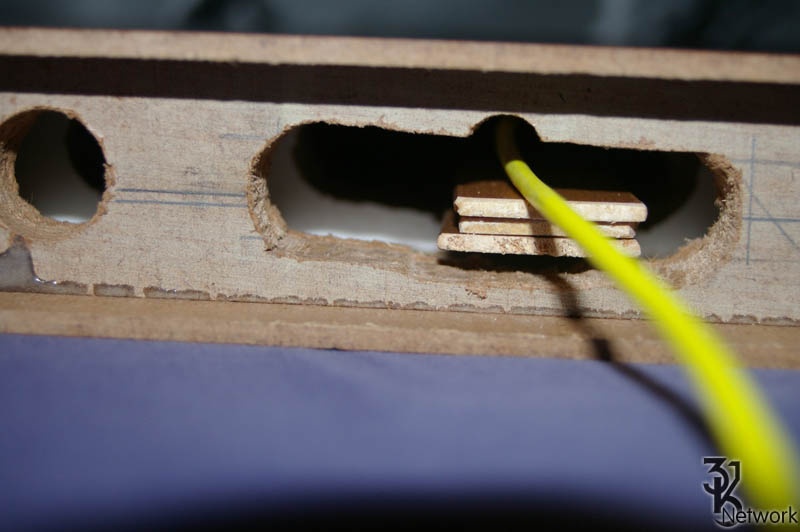
Work completed showing cut-out for Charging Plate
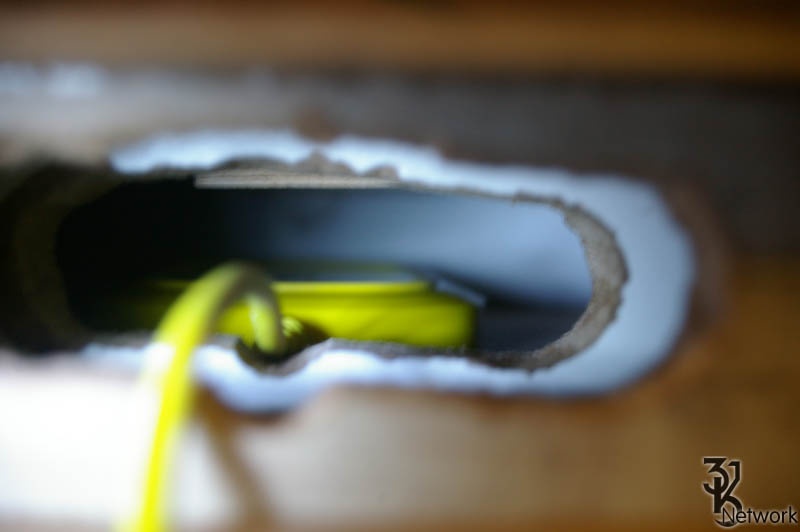
With some additional work from a wood filer to smooth some of the edges I was successfully able to remove the rough edges and give overall a better fit for the Charging Plate.
NOTE : Its always best to ensure any dust/wood is always removed from the shelf as it may create un-necessary heat, when we are talking about a inductive charging system its best to keep it clean (Also its recommended by Nokia)
Charging Shelf with all works completed
Stage 3, Plate Up
With the charging plate now able to successfully fit in the floating shelf, the next part is to ensure it stays in place. As with my original goal, this has to cost the least possible to make it a cost effective charging shelf.
Due to my limited resources the best solution I was able to come up with was some spare pieces of wood I had laying around the house (Some from blind cut-offs)
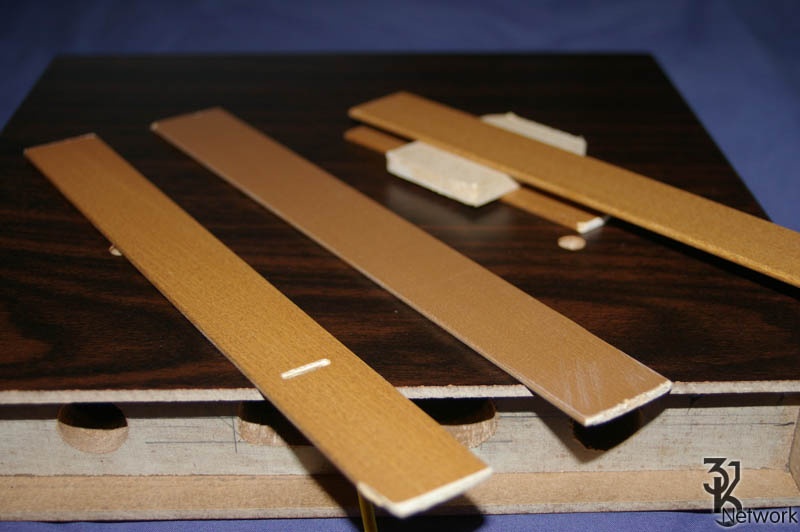
3 pieces to act as support fillers
As the shelf is 380mm tall and the charging plate not even 100mm tall there is a lot of room fill and a lot of space for the charging pad to move around. As this is an inductive charged system I opted to not use any tape or adhesive material, as it could become problematic later down the track, instead using spare parts to press the plate against the top of the shelf.

Sliding the Nokia Charging Plate into position
Sliding the Nokia Charging Plate into position
Sliding the Nokia Charging Plate into position
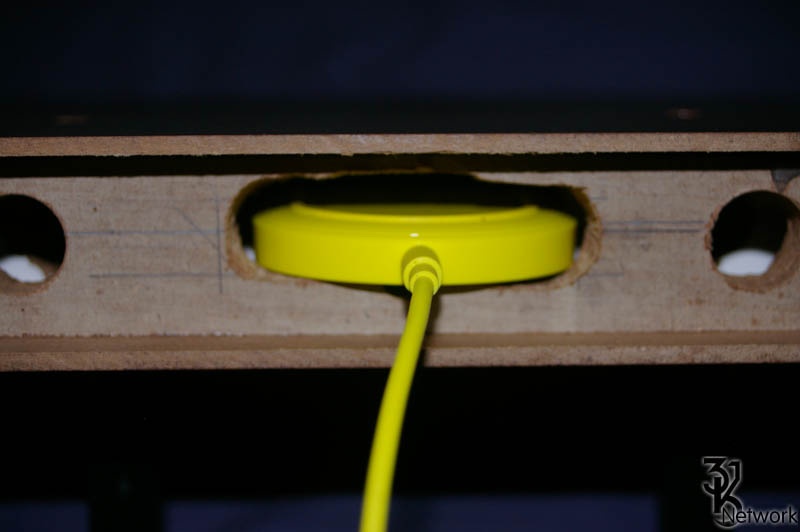
Final placement of the Nokia Charger before adding fillers/supports
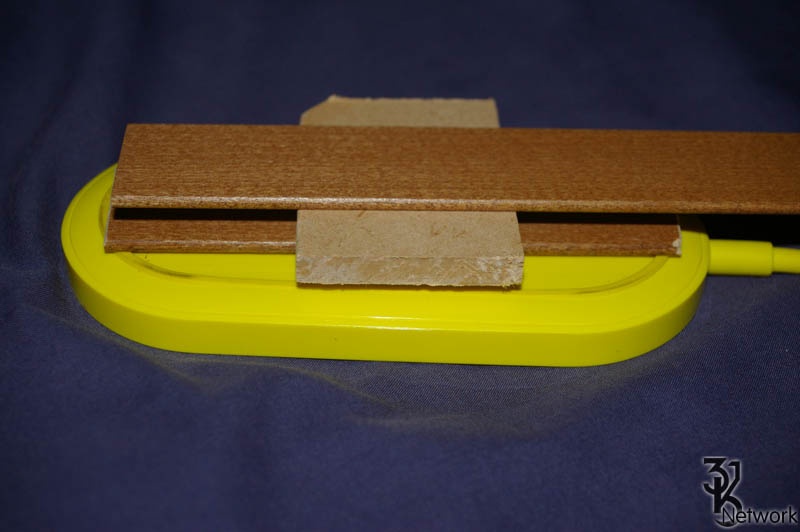
Items I used as filler/padding for the charging plate
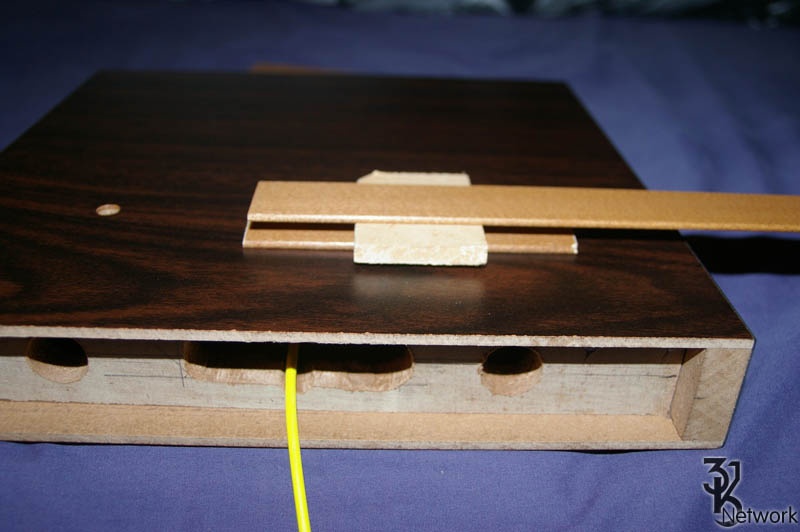
- 1 piece of wood to level out the bottom of the shelf – Thickness was approx height of the base of the shelf to the top of the cut-out as pictured)
– This allows the additional filler/padding to maintain a flat surface as well as keep the
Bottom Support section to level out the Shelf
Charging Plate now in position
- Strips from a spare venetian blind
– Using some old cut offs I was able to make the length approx. length of the inside of the shelf - Plate Supporter
– Using 2 pieces of venetian blind cut-offs and another spare piece of wood (no real size just a thicker piece to reduce the number of venetian blind pieces required overall
Main support filler
Support/Filling block to hold the charging Plate in place
The plate supporter acts as a 1st contact for the charging plate to the supports and padding pieces. Using the 1 smaller piece attached to the larger allows me to better guide the contact points on the plate as well as utilizing the smaller pieces of blinds I had available. The 1 thicker piece is simply used as a large padding/filler to reduce the blind pieces required (1 filler took approx 2-3 blind pieces). As detailed in the image the smaller one was cut to sit on the rubber base of the charging pad with the larger one cut similar length to the others to allow easy insertion and removal if required.
Stage 4, Plates In
With the shelf being placed in an upside down position it allows easy insertion and placement of the Nokia Charging Plate. This process is a simple slot the plate in the hole and wiggle it around to ensure it’s as in the middle as possible and pushed right to the front of the inside of the shelf.
Note : Just remember this is where the phone will be charged so if you want to keep your phone in the middle to charge etc you would need this plate to be closer to the center of the shelf
All fillers in place to support the plate
After placement of the Nokia Charging Plate it’s time to start adding the fillers to ensure the plate does not move from its position while it’s being installed or moved. Using the Plate supporter as step 1 its best to ensure it’s placed just on top of the plate first and correctly (Using my one as an example to ensure it’s on the padding and not the plate itself)
Turning the shelf over keeps the charging plate in place
Note : The fillers also keep the plate pushed against the top of the shelf to ensure minimal distance between it and the phone
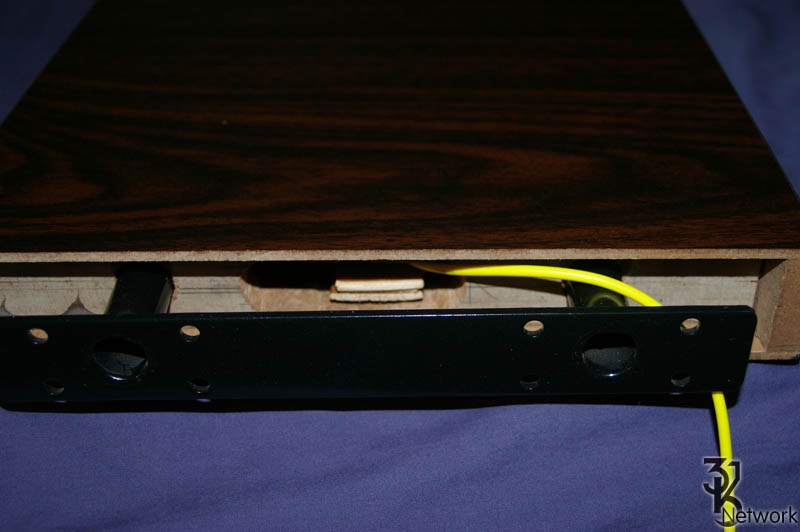
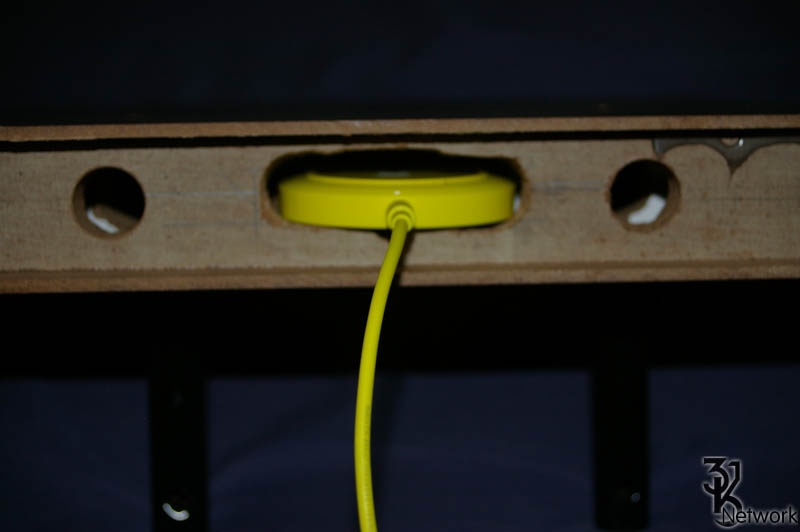
Shelf holder acts normally with cable and modifications

Cable runs out bottom cable slot
Once the plate supporter is in position the next step is to simply stuff the remaining gab with other filler/supports, in my case it was only 2 additional strips of blinds to fill the gap and securely hold the charging plate.
Stage 5, Test and Mount
After the charging plate has been securely supported in the shelf it’s time to plug it in for a test run to ensure the plate is in a suitable position to hold the charge to the mobile device and to get an idea if the position is suitable for your regular use. If the pad does not maintain charging status with the phone slightly move the phone around as it may be slightly off where you think it may be. If required re position the plate by removing the supports/padding from the shelf.

Charging Shelf pre mounted to wall
Once you are happy the shelf is preforming as required it’s time to mount it to the wall and fix it into position.
Using the correct mounting tools attached the mounting bracket of the shelf to the wall and secure it in place.

Starting mounts for shelf
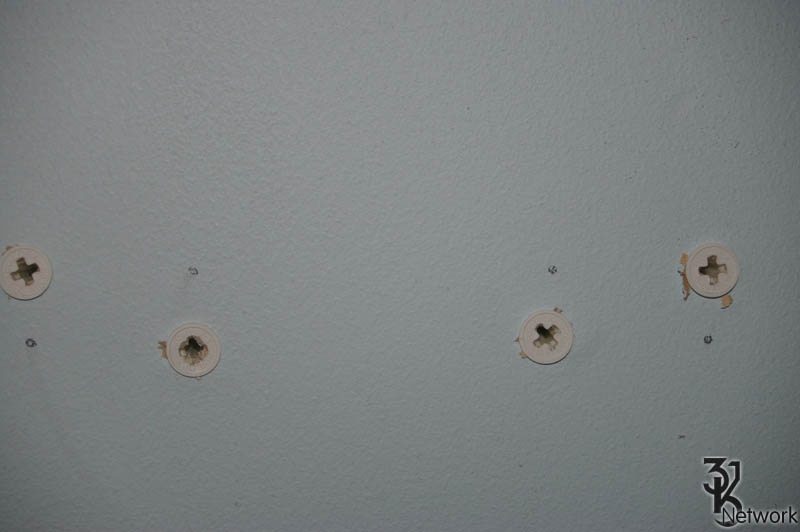
Total of 4/8 mounting points for this project
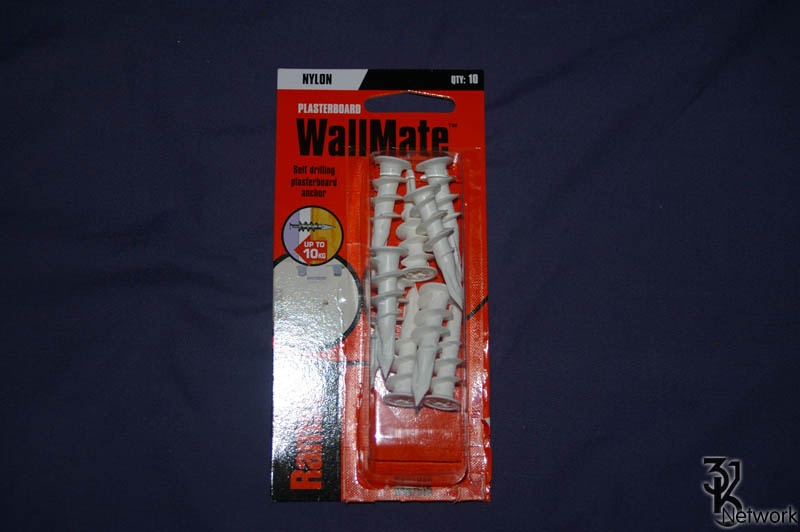
Correct gyprock mounting supports (Shelf comes with Brick mounts)
Note : Due to the weight my one will be holding used for (Wireless Charging and not much else) I have opted to use 4/8 of the supplied mounting screws, each shelf can support up-to 10kg so a sub 2kg load should not cause any issues to this.
After securing the shelf brackets into place simply slide the shelf on ensuring the power cable is running correctly to gain a clear path to the power source. Once the shelf is fully on the brackets screwing in the final bottom supports to stop the shelf coming off completes this project.
Charging Shelf installed and mounted to wall
Charging shelf mounted above bed-side-table
Step 6, ???? Profit
Now that the shelf has been successfully mounted to the wall the next thing to do is start using it.
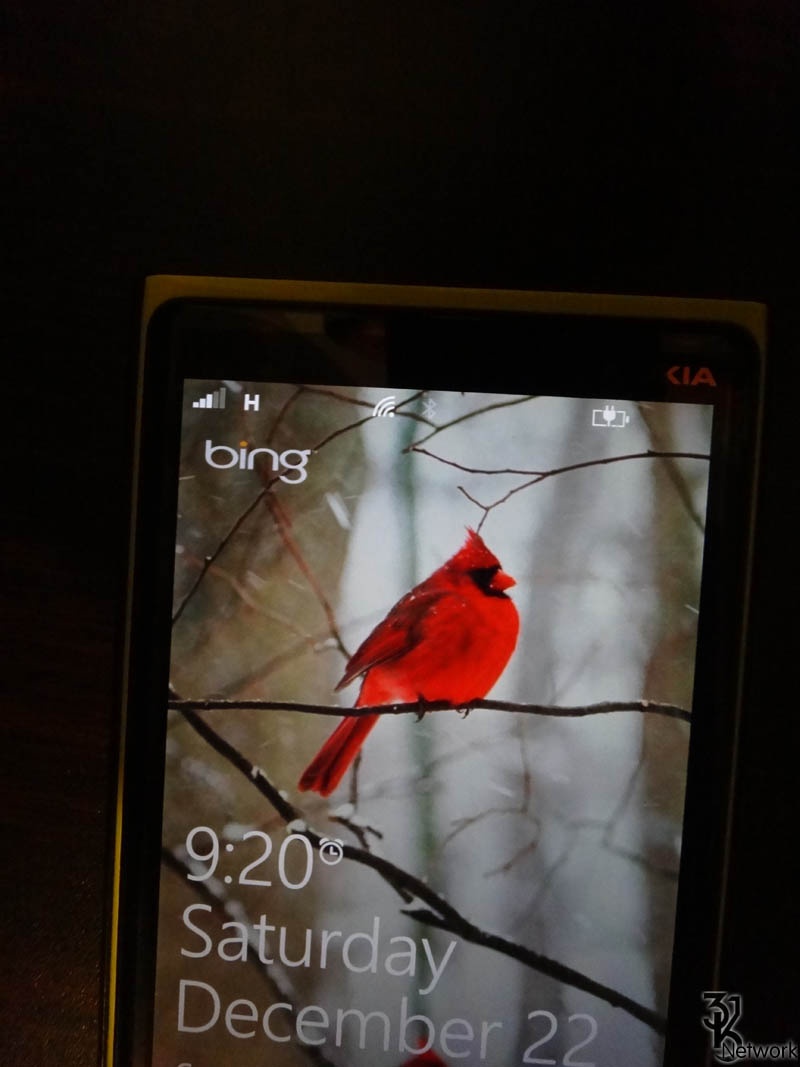
Lock screen of the Lumia 920 Charging
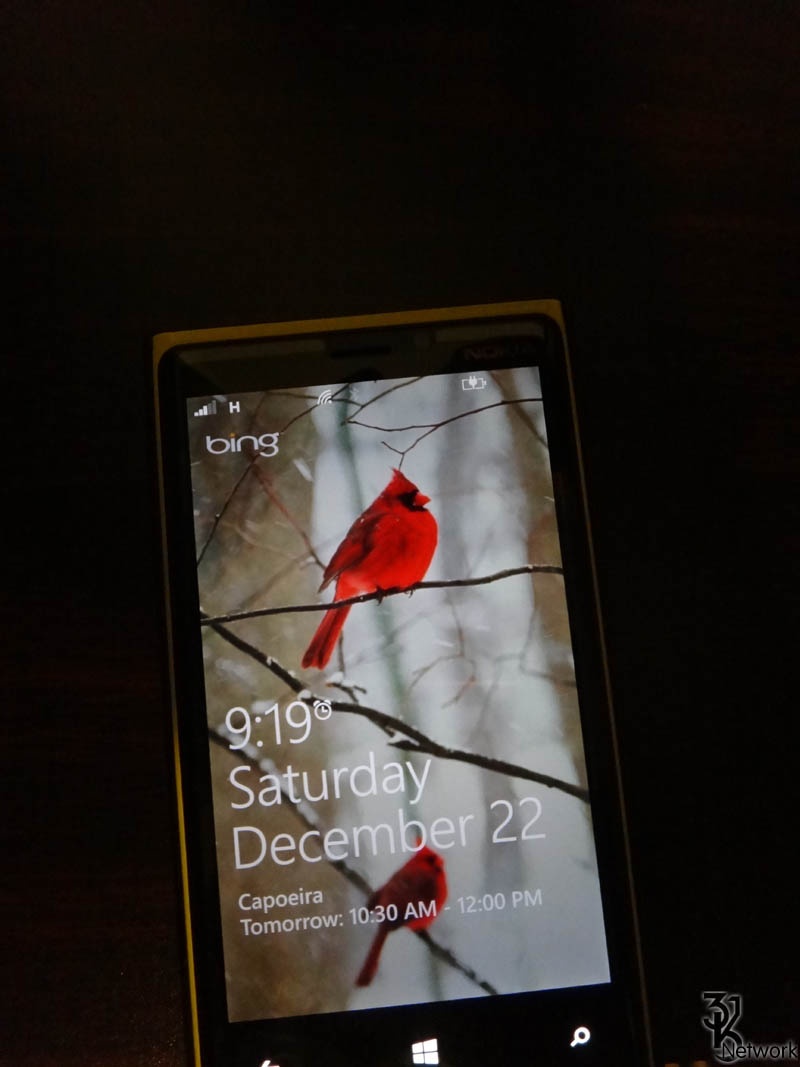
Nokia Lumia 920 Charging

Lumia 920 Lock Screen Charging
Keeping in mind the cost of the wireless charger for each region this whole project brings the cost of a wireless charging shelf down to well under $100 for parts to get your very own Floating Charging Shelf.
Pages:
- 1
- 2
2 comments
Great home project, well done 🙂
cool,very good ,because I am a Chinese,so my English is poor。哈哈